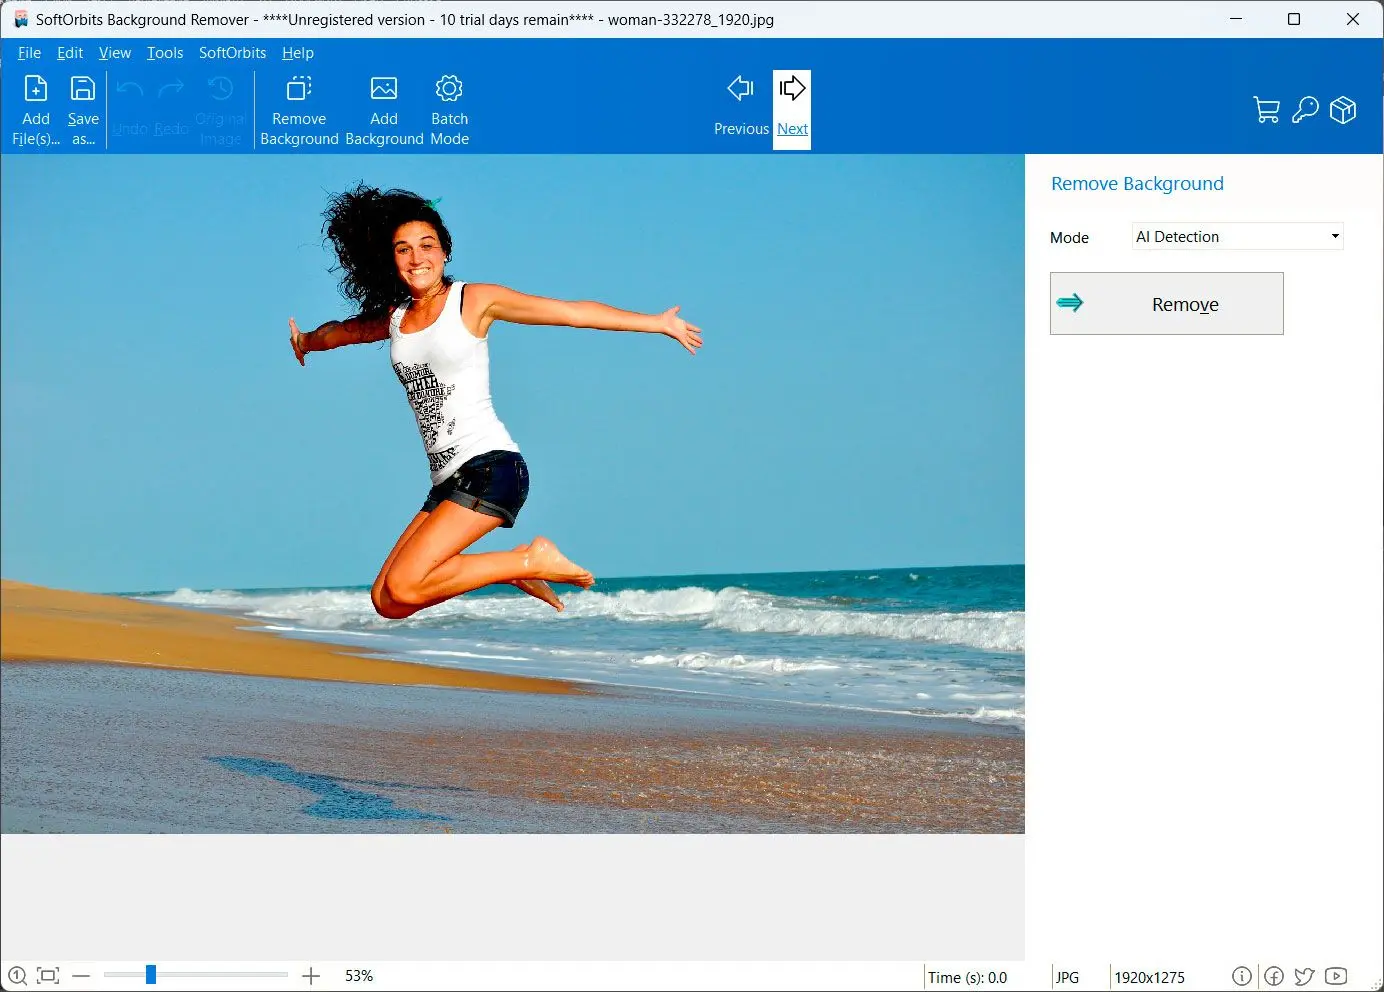
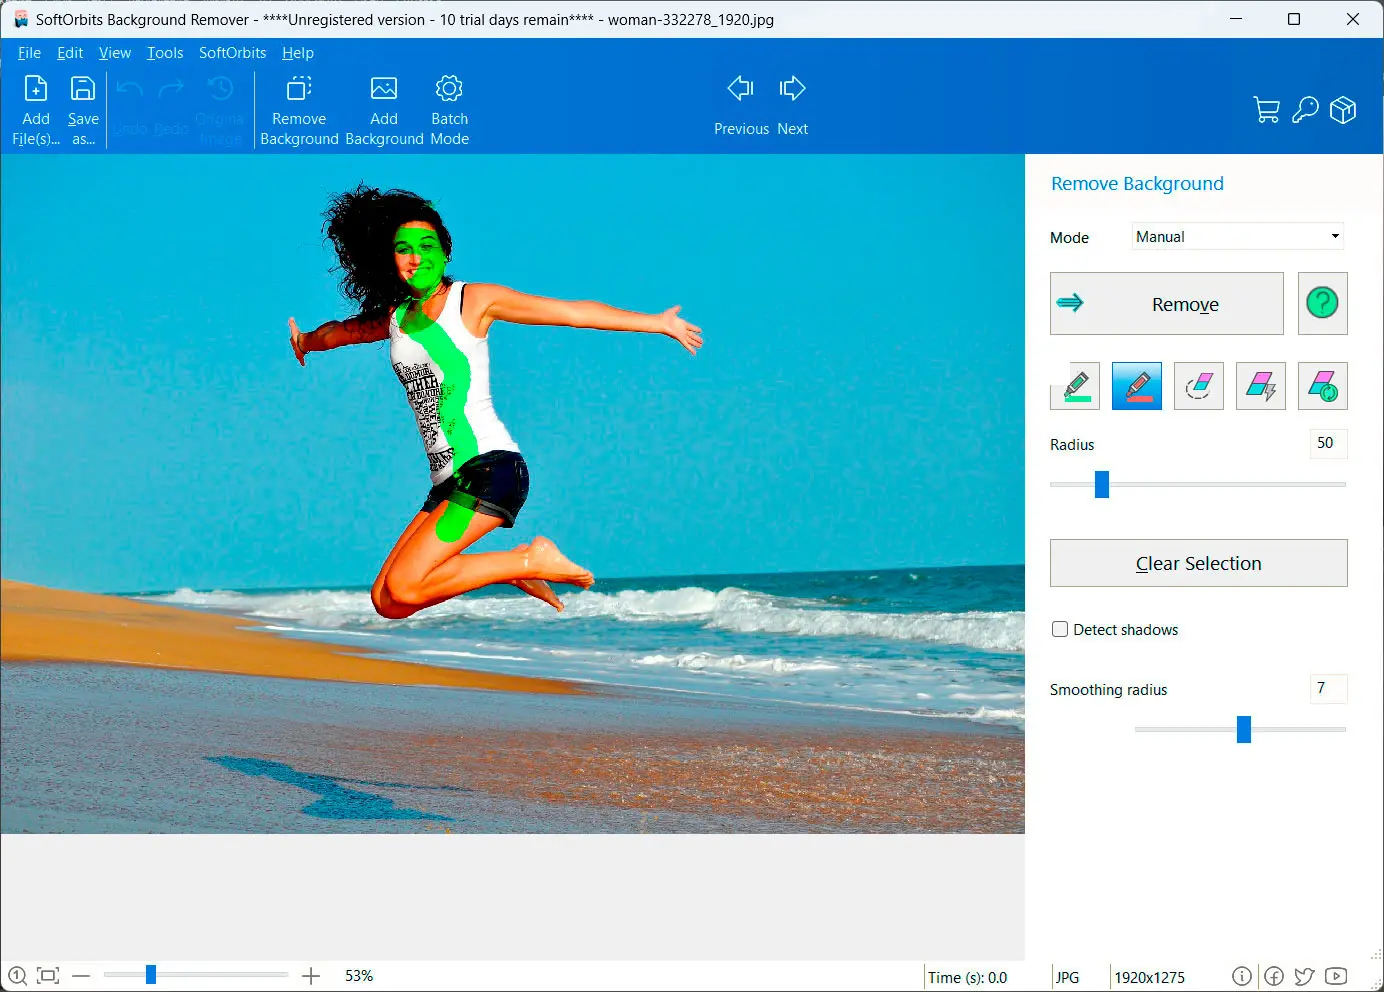
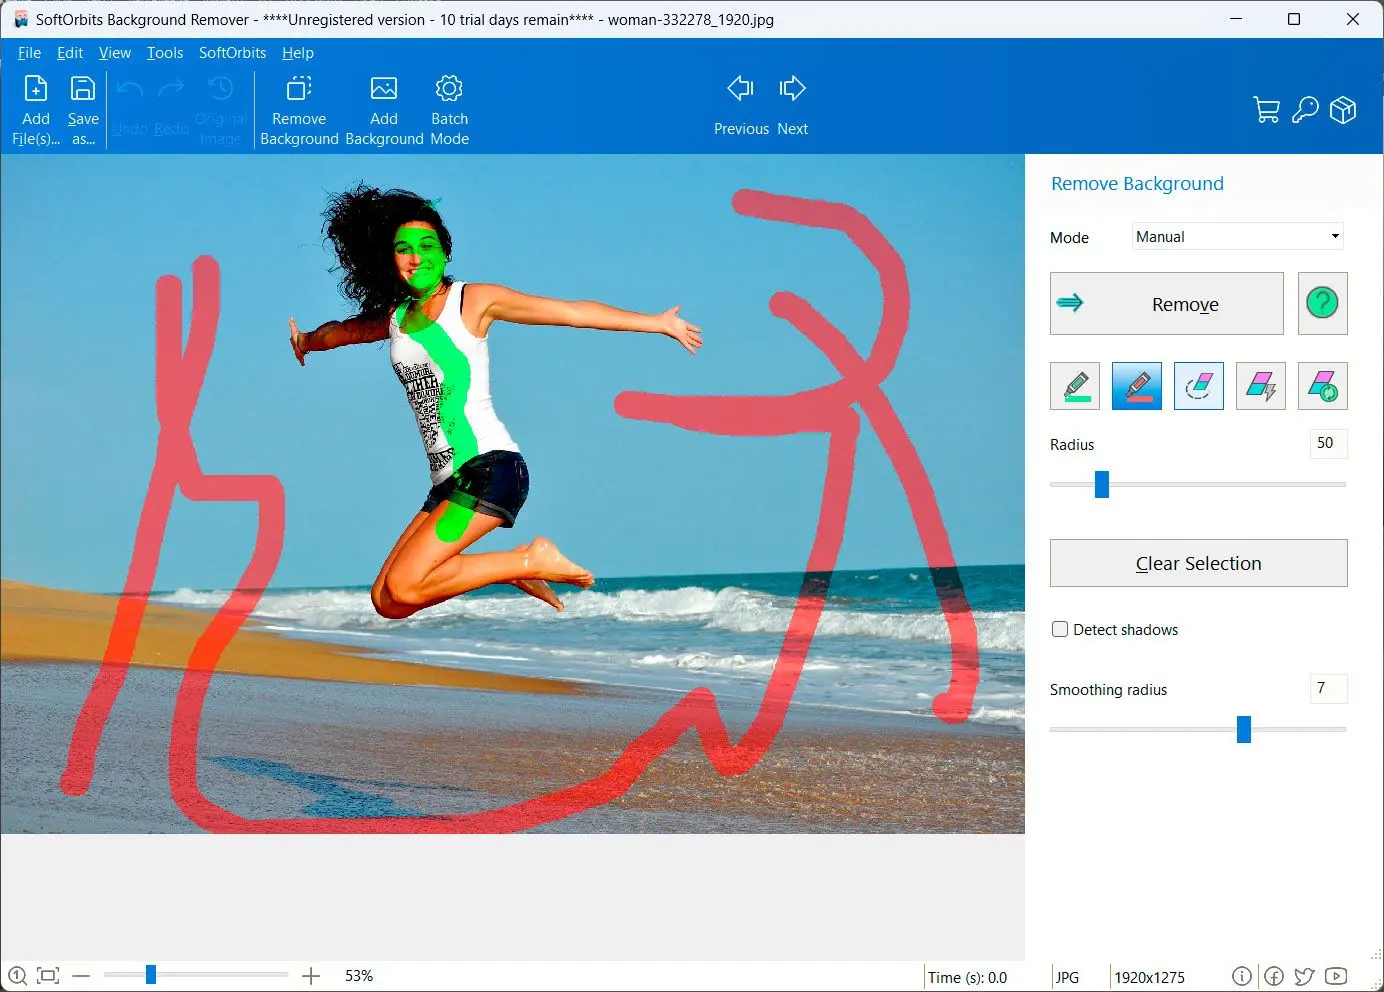
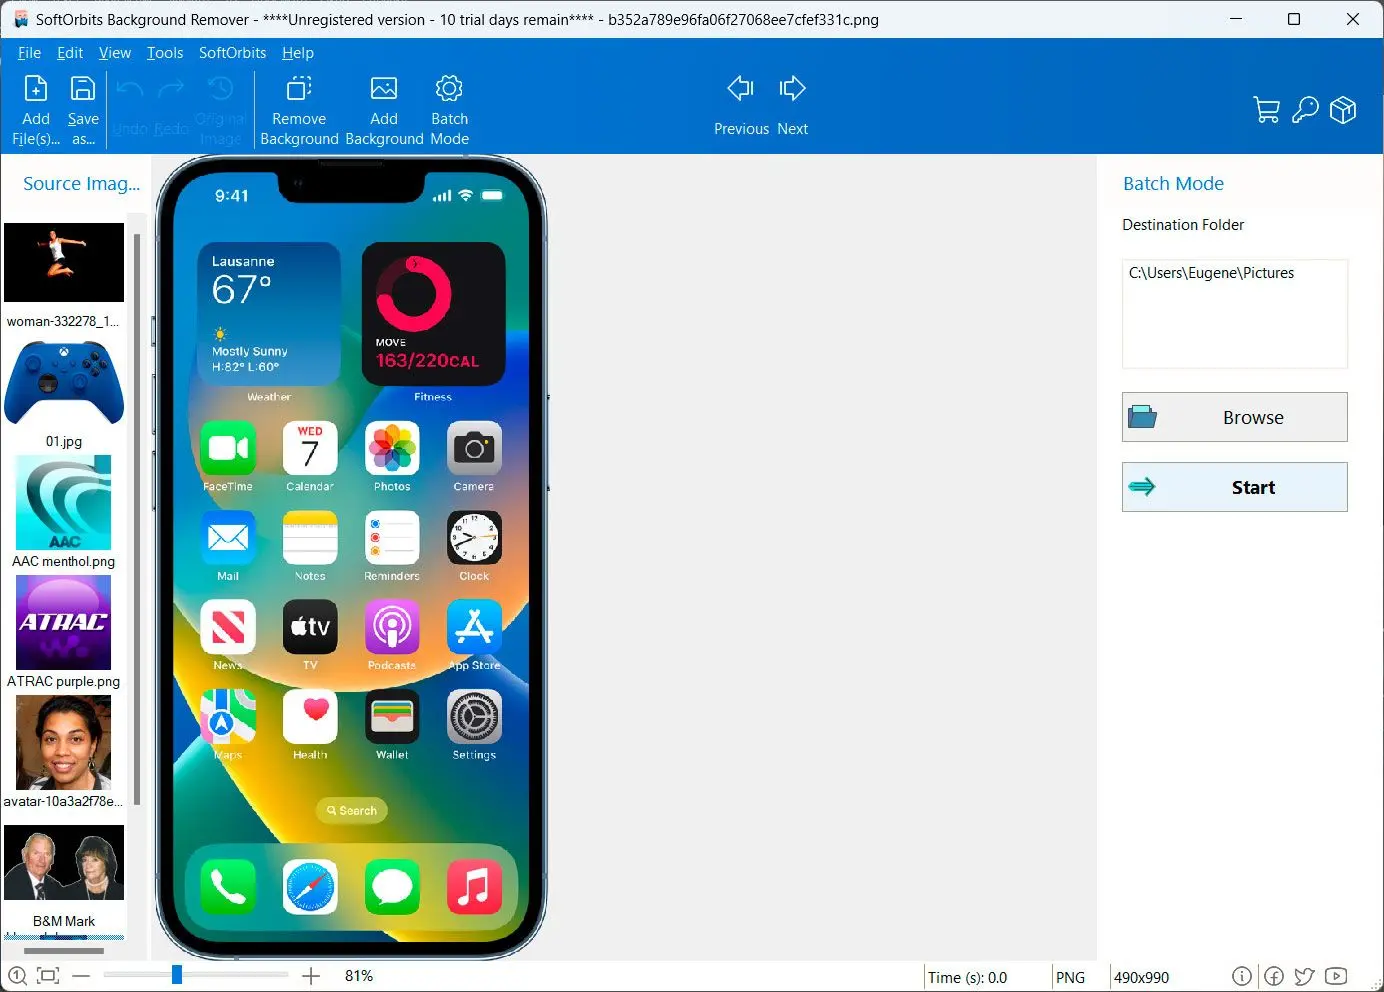
How to remove background from image: A Step-by-Step Guide
Asus X515ea Irst Driver Top [new]
This laptop features 11th Gen Intel Core processors equipped with Intel Volume Management Device (VMD) technology. This technology optimizes storage performance but causes the Windows installer to show a completely blank drive selection screen unless the proper setup driver is loaded. Why Windows Cannot Find Your Drive
and navigate to the folder where you extracted the drivers on your USB. Intel RST VMD Controller from the list and click Completion
Go to the official ASUS website and navigate to the Drivers and Tools section.
Before diving into the specific ASUS X515EA, let’s understand the technology. asus x515ea irst driver top
user wants a long article for the keyword "asus x515ea irst driver top". This suggests a comprehensive guide about Intel Rapid Storage Technology (IRST) drivers for the ASUS X515EA laptop. The plan involves searching for the official support page, driver download details, installation guides, troubleshooting, and IRST benefits. I will follow the search plan to gather the necessary information. search results for the support page show the official ASUS support page for X515EA. The results for the IRST driver download show some relevant links, including an ASUS support article about troubleshooting. The results for the install guide show some ASUS support articles in different languages. The results for troubleshooting show more ASUS support articles. The results for specifications show the processor models. The results for "X515EA" "Intel RST" driver show the official ASUS driver page. The results for benefits show some general information. Now, I need to open the most relevant pages to gather detailed information. opened pages show the support page, a BIOS helpdesk page, an ASUS China FAQ, an ROG forum FAQ, an ASUS Global FAQ, an ROG South Africa FAQ, and a Brazilian support page. These pages provide information about downloading drivers, including the IRST driver, and troubleshooting installation issues. I'll use these to structure the article. The article will cover what IRST is, why it's needed for the X515EA, how to download and install it, troubleshooting, benefits, FAQs, and a conclusion. I'll also incorporate information about the laptop's specifications and processor generations. you own an ASUS VivoBook X515EA, you might have encountered a frustrating issue when trying to reinstall Windows: your SSD or storage drive simply doesn't appear during the setup process. When this happens, the fix usually comes down to one critical software component—the Intel Rapid Storage Technology driver.
The driver is a specialized software package designed for systems with 11th Gen Intel processors (like the Core i3, i5, or i7 found in the X515EA). It manages communication between the operating system and the storage hardware (SSD/HDD) to:
Insert the installation USB into your ASUS X515EA laptop and boot into the Windows Setup interface. This laptop features 11th Gen Intel Core processors
I can provide specific instructions to help you get your laptop up and running. Share public link
Standard Windows installation ISOs lack the corresponding Intel RST VMD controller driver package.
Click the download icon. The file will usually be a .zip folder. Intel RST VMD Controller from the list and
Click on the icon situated at the bottom-left of the disk selection menu.
The ASUS X515EA is a popular laptop model known for its impressive performance, sleek design, and robust features. However, to truly unlock its full potential, it's essential to ensure that all drivers are up-to-date and functioning correctly. One crucial driver that can significantly impact your laptop's performance is the Intel Rapid Storage Technology (IRST) driver. In this article, we'll explore the importance of the ASUS X515EA IRST driver, provide a step-by-step guide on how to install it, and discuss the benefits of having this driver installed.
In this article, we will break down everything you need to know about the IRST driver for the ASUS X515EA—what it is, why you need the (latest/correct) version, how to install it, and how to troubleshoot common errors.
Download the installer package (e.g., version V19.x or later) directly to your system. Run the downloaded executable ( .exe ) file.
 Photo Background Remover